

How To Improve WordPress Performance In 6 Steps
Visitors and search engines alike love snappy websites that don’t take much time to load even on mobile devices with cellular internet. WordPress developers know this, and they continue to optimize the performance of the content management system (CMS).
But it’s one thing for WordPress to perform well in its stock configuration, and it’s something else entirely for a WordPress-based website to perform well with a dozen or so plugins, hundreds of published articles, and a custom theme.
While the topic of WordPress performance tuning can be exhausting, you can achieve fantastic results just by following these six steps:
Step 1: Increase WordPress Memory
WordPress is a memory-hungry CMS, but it’s typically installed only with the bare minimum amount of memory. To give it more, you need to increase the maximum PHP memory limit and the maximum upload file size.
Unfortunately, not all web hosting providers make this simple, and some don’t make it possible at all. If your web hosting provider doesn’t let you give WordPress the memory it needs to run without any issues, then we recommend you find a better one.
Step 2: Optimize Images
It’s no secret that readers love visually attractive web pages that combine text with images. The only problem with images is their size. A small handful of poorly optimized images can easily cause a website to take ages to load, which may cause visitors to click the close button.
That’s why you should always compress each and every image you use. The good news is that you don’t have to do it manually because there are multiple plugins that can optimize your images for you, such as Imagify.
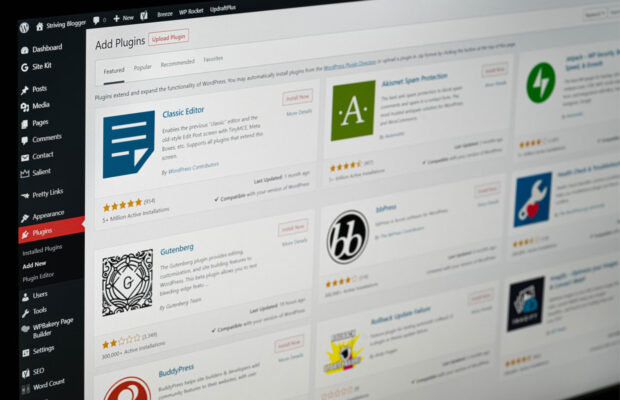
Step 3: Get Rid Of Useless Plugins
Speaking of WordPress plugins, you should strive to use as few of them as possible because each plugin you install and enable can negatively affect the performance of your website (with some notable exceptions—see the next steps).
You can start by checking if you don’t have two or more plugins that do the same thing. For example, WordPress users sometimes install multiple search engine optimization (SEO) plugins to rank better, only to tank the performance of their sites.
Step 4: Enable Caching
Not all plugins decrease website performance. With a capable caching plugin like WP Rocket or WP Fastest Cache, for example, you can make your website load much faster by generating static HTML files from dynamic content ahead of time.
To enable WordPress caching using a plugin, you don’t need any special skills or knowledge, but some plugins offer all kinds of advanced options you shouldn’t touch unless you know exactly what you’re doing.
Step 5: Use A CDN
A content delivery network, or CDN for short, is a global network of servers that can host your WordPress site and bring it closer to your readers, regardless of where they’re located.
The most popular CDN today is Cloudflare, but there are many alternatives to choose from depending on your needs and budget. The best CDNs also protect against DDoS attacks, making them well worth the price.
Step 6: Switch To HTTP/2
HTTP/2 is a revised version of the HTTP network protocol, one of the major protocols powering the World Wide Web. The protocol greatly decreases latency to improve page load speeds using techniques like data compression of HTTP headers and pipelining of requests, among others.
To switch your WordPress website to HTTP/2, you need a web hosting provider that supports the technology. The good news is that most leading providers already do support it.
Conclusion
WordPress performance optimization is a huge topic, but you can cover the basics in just a few simple steps. Don’t forget to perform a website performance test after every change you make to verify that you’re moving in the right direction. If you’re interested in learning more about WordPress performance tuning, take a look at this in-depth guide from SaneChoice.

You may also like...


![]() © 2024
© 2024
0 comments