

5 Image Optimization Tips For PNGs
It’s next to impossible for anyone who does business online to maintain success in their marketing and sales efforts without using and dealing with a lot of images.
Webmasters, designers, business owners, and marketing personnel tend to work with PNG images when using images for use as logos, illustrations, or screenshots. PNG images offer superior text clarity compared to other image formats.
A problem faced by anyone who uses PNGs on their website is image optimization. PNG files are nearly always larger than JPEGs or GIFs, which makes uploading lots of PNGs to the web a real problem because they will slow a site down if left uncompressed. The following five tips highlight some of the main ways to optimize PNG images so that you can use them on your website without ruining the user experience.
Reduce The PNG Data Stream
The nature of PNG files and how they are structured is such that there are a staggering number of ways in which the image can be compressed. The pixel data stream contains multiple chunks of image data, which might not always be organized in an optimum way.
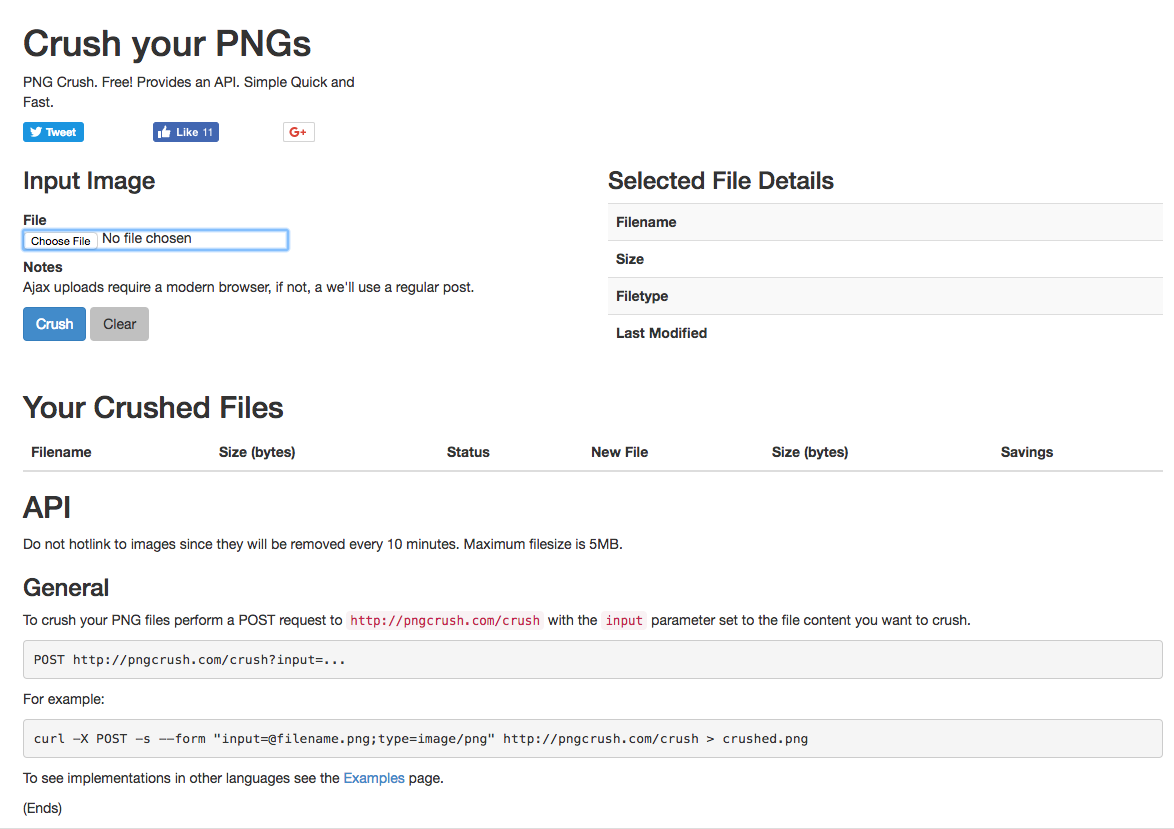
Without delving too much into the underlying mechanics, you can use a free command-line utility such as pngcrush to reduce the size of the PNG data stream. This tool compresses the PNG image with multiple different combinations and different filters, after which it stores the smallest of the resulting files.
Command-line utilities require good technical computer knowledge. An alternative way to use this tool is to upload your image on pngcrush.com and select the “Crush” option.
Choose Simple Colors
You’ll sometimes find that when editing a large PNG image and then compressing it, the result is an image file which is in the order of a few megabytes. Since you’ll be using these images online, you need to be working with kilobytes for optimum website load times.
One of the best ways to optimize PNG images is to simplify them. Don’t choose complex areas of color with intricate patterns for PNGs. Instead, see if you can simplify your image by opting for large areas of flat colors.
Most of the time you’ll use PNGs for text-heavy images, logos, or screenshots, so the clarity of the message is more important than any complex or unique design. Keep things simple and the size of your PNGs will naturally decrease.
Use TinyPNG
TinyPNG is one of the most popular online tools for optimizing PNG. This tool uses its own smart lossy compression algorithm that reduces the size of your PNG images.
TinyPNG works by analyzing a PNG image and combining similar colors using a process named quantization. Essentially, the tool reduces the number of distinct colors in the image without sacrificing image quality. The end result is much smaller files sizes that can be used on your website without slowing it down.

Get Rid Of Dirty Transparency
Dirty transparency often contributes to much larger PNG images than necessary. Essentially, dirty transparency occurs when the transparent part of your image has many color values. So, while the transparent area may look transparent to the human eye, there are actually lots of junk colors behind that area that add to the image’s data.
PNGs use RGBA for color definitions. The alpha in RGBA is set to +0 for transparent areas, but the original color data (RGB) might remain for each pixel. To view the hidden details of an image in Photoshop, download the free Photoshop plugin suite PhotoFreebies. Once installed, open your PNG image in Photoshop and choose Filter → Photo Wiz → Remove Transparency.
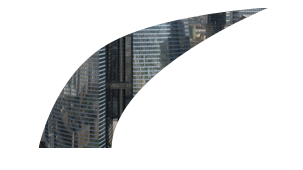
The above image displays a PNG with transparent background while the following images show how this image looks when transparency is removed under two different circumstances.
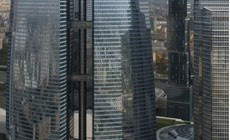
The second image contains no hidden color data—the transparent area is entirely black when transparency is removed. On the other hand, the first image contains lots of hidden color data when you remove the transparency. Thus, the second image is markedly smaller than the first.
The way to fix this problem on the first image is to get your front-end developer to highlight the fully transparent part of the image in Photoshop and fill it entirely with black. Full instructions to do this can be found here.
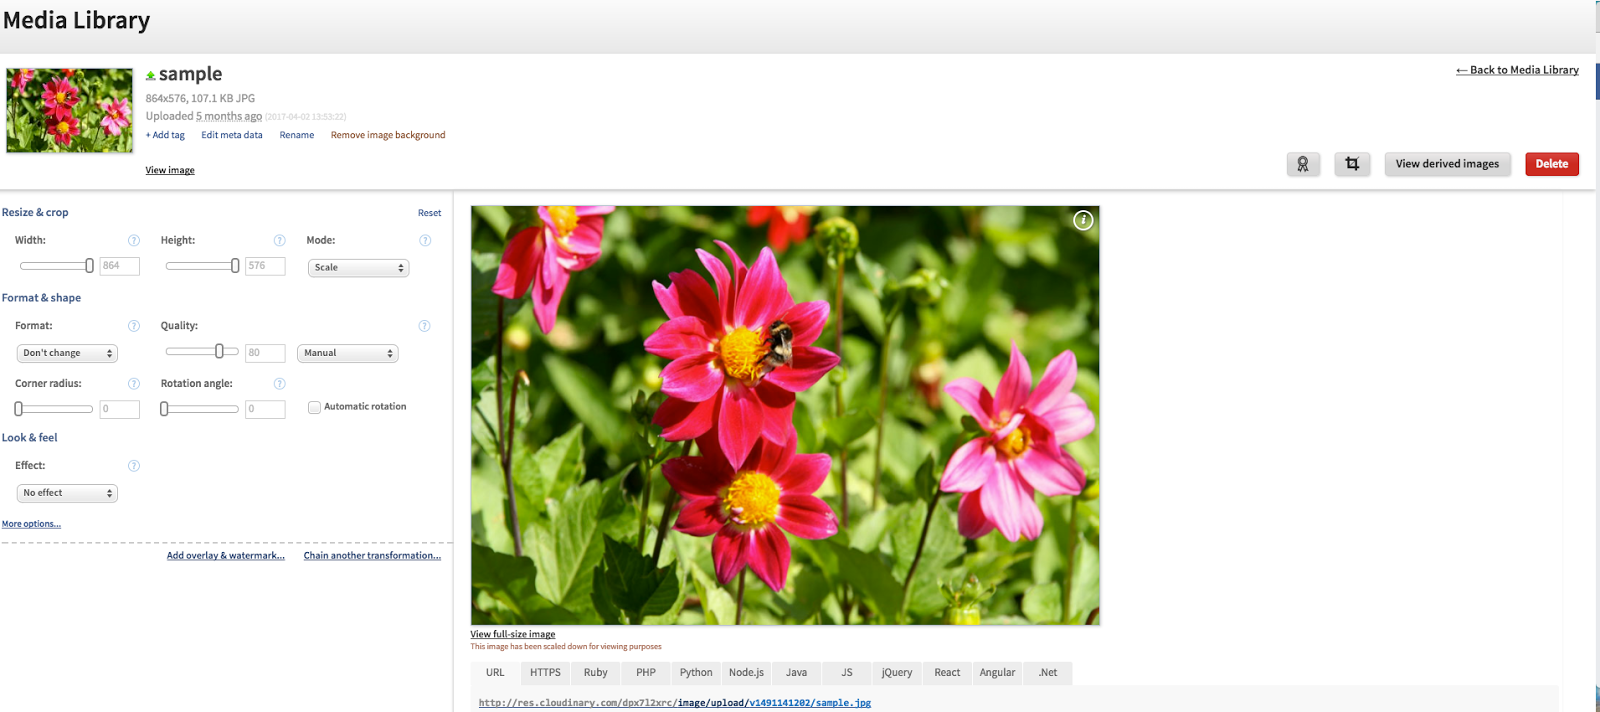
Manage Images In The Cloud
Managing images in the cloud provides a convenient way to optimize your PNGs in addition to a host of other benefits.
A good cloud image management platform such as Cloudinary lets you store huge numbers of images securely in the cloud, upload anywhere from a few images to millions of PNG (and other file types) images a day, and set default image optimization values that reduce the size of your PNGs effortlessly and automatically. Cloudinary essentially takes a lot of the work out of optimizing and managing your PNG images.
To Conclude, The Best Ways To Optimize PNG Images Are:
- Use pngcrush to find the compression combination that delivers the lowest file size.
- Opt for simple colors and patterns in PNG images to make your message clear while keeping file size to a minimum.
- Use Tiny PNG to further compress PNG images for free and take advantage of their intelligent compression algorithm.
- Remove any dirty transparency from images.
- Consider an image management platform such as Cloudinary that lets you store files in the cloud and optimize large numbers of PNGs as you upload them.
You may also like...


![]() © 2024
© 2024
0 comments