Robo-Slop: What Not To Do When Trying To Build Your Own Robot

If you’re wanting to build your very own Raspberry Pi robot, there are many ways in which you can go about this, however there are many things you must avoid and bypass when going about creating one.
So, to avoid turning your robot into a “robo-slop”, here is our guide on what not to do when trying to build your own robot with a Raspberry Pi.
Don’t Forget The Essential Parts
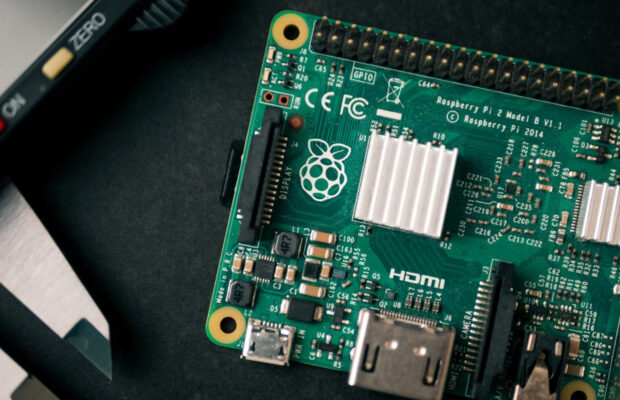
The heart of your robot building project will be the Raspberry Pi – any Pi will do! If you don’t have a Pi – be sure to check out a Pi provider such as The Pi Hut and secure yours today!
You’ll need a Pi monitor, USB hub, mouse, keyboard and WIFI Dongle as well. A WIFI router and a compatible USB cable or Arduino UNO is also essential. Other common essentials needed to build the ultimate robot include, a power distribution board robot base, motor driver and a 12volt 7amp hr battery.
Don’t Power Both The Pi & Motors From The Same Source
When deciding to build your own robot, you should certainly avoid powering both the Pi and the motors from the same source as it can result in your robot being inefficient on power. Powering the Pi using 6 AA batteries and a voltage regulator would be a better power supply option. If you use a larger battery pack with more batteries, the motors may give too much voltage, and if you were to use a smaller battery pack, it would not produce the required voltage.
Ultimately, if you want to build a high-quality Raspberry Pi robot, you’ll need a lot of motors and a driver board that can handle a lot of them. A greater power supply is also required to power the motors.
Don’t Wire It Up Incorrectly
If you wire up your robot incorrectly, it won’t function as it should, therefore it is important that you pay close attention when wiring up your very own Pi robot.
For one of our previous robot build guides, this is the wiring guide we used: Using an adhesive such as Blu Tack, attach the Pi and breadboard to the top of your frame. Insert the L293D motor controller into the breadboard, then connect your jumper wires to the Pi’s and the breadboard’s pins. Connect the two wires on each DC motor to the motor controller’s output pins. This won’t apply to all robot build projects but certainly is a good guide to base your design on.
Don’t Forget About Python
Guido van Rossum created Python in 1991 as a general-purpose interpreted, interactive, object-oriented, high-level programming language. Python allows users to write code with clear, readable syntax and a growing number of support libraries for various tasks. It is open source and has a development community.
To get Python programs to run, you must first ensure that Python is installed on the system, along with the necessary dependencies, and that the version you are using is up to date.
Don’t Forget To Have Fun
All Pi projects should be intended for you to have fun whilst being innovative and creative at the same time. Don’t forget to enjoy every moment of the build process.


 © 2024
0 comments