

How To Create A Seamless Pattern In Adobe Illustrator
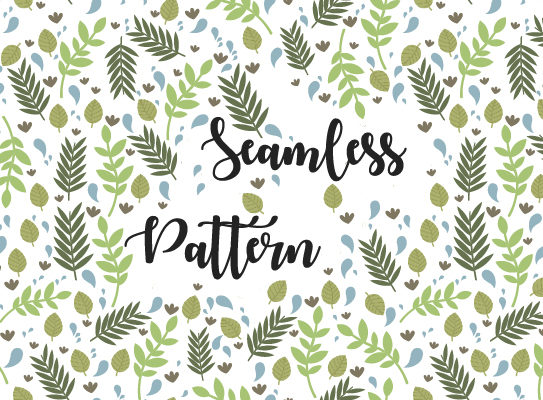
Interested to learn how to make seamless pattern in Adobe Illustrator? This is the right place to start. Hope you will have more fun and able to recreate this pattern by yourselves.
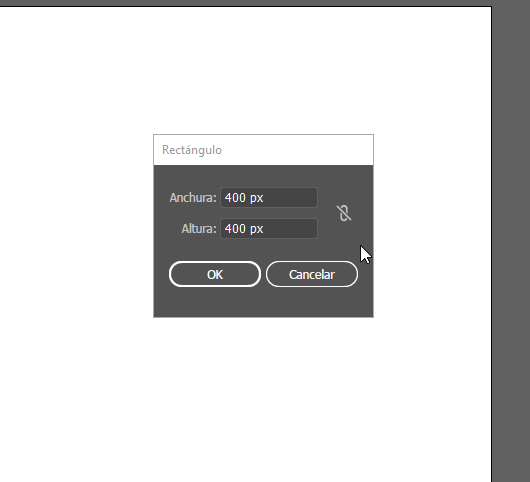
Step 1
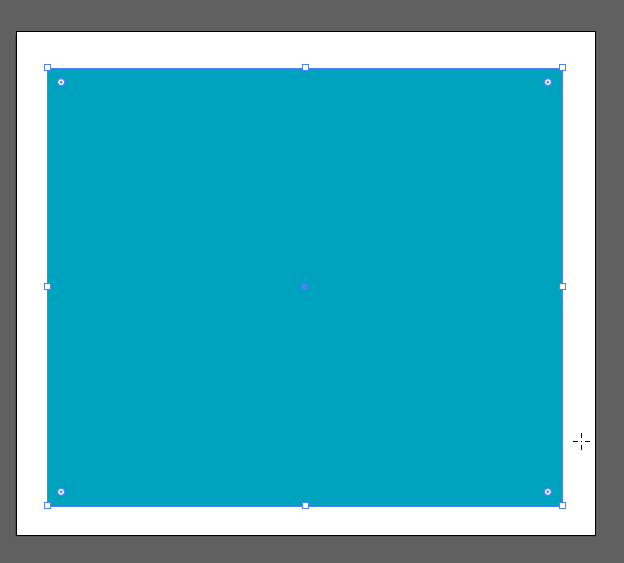
Let’s create a pattern using Illustrator and you’ll see that it is very easy and fast. Let’s begin! Create a rectangle of any color that has a measurement of 400×400 px. To do this, use the Rectangle tool (M) and create it by holding down the Shift key or with the Rectangle tool selected (M) click on your art board and select the measurements manually.
Step 2
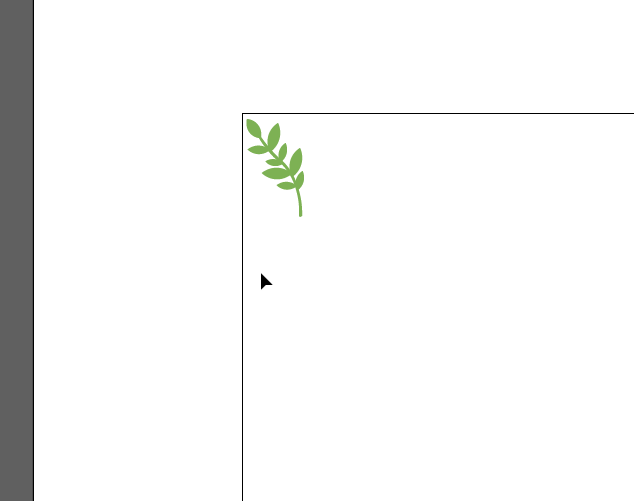
Let’s create the pattern, make some designs with the Pen tool (P).
Step 3
This part is totally at your freedom, so have fun and be creative.
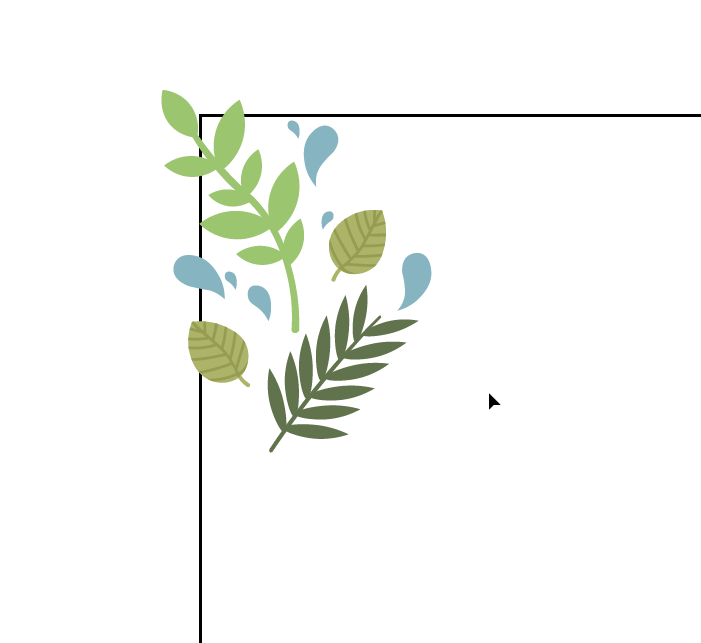
Step 4
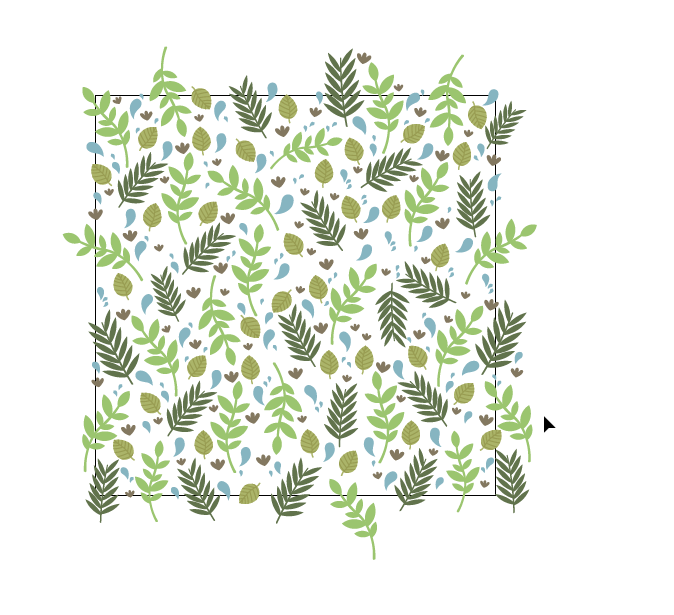
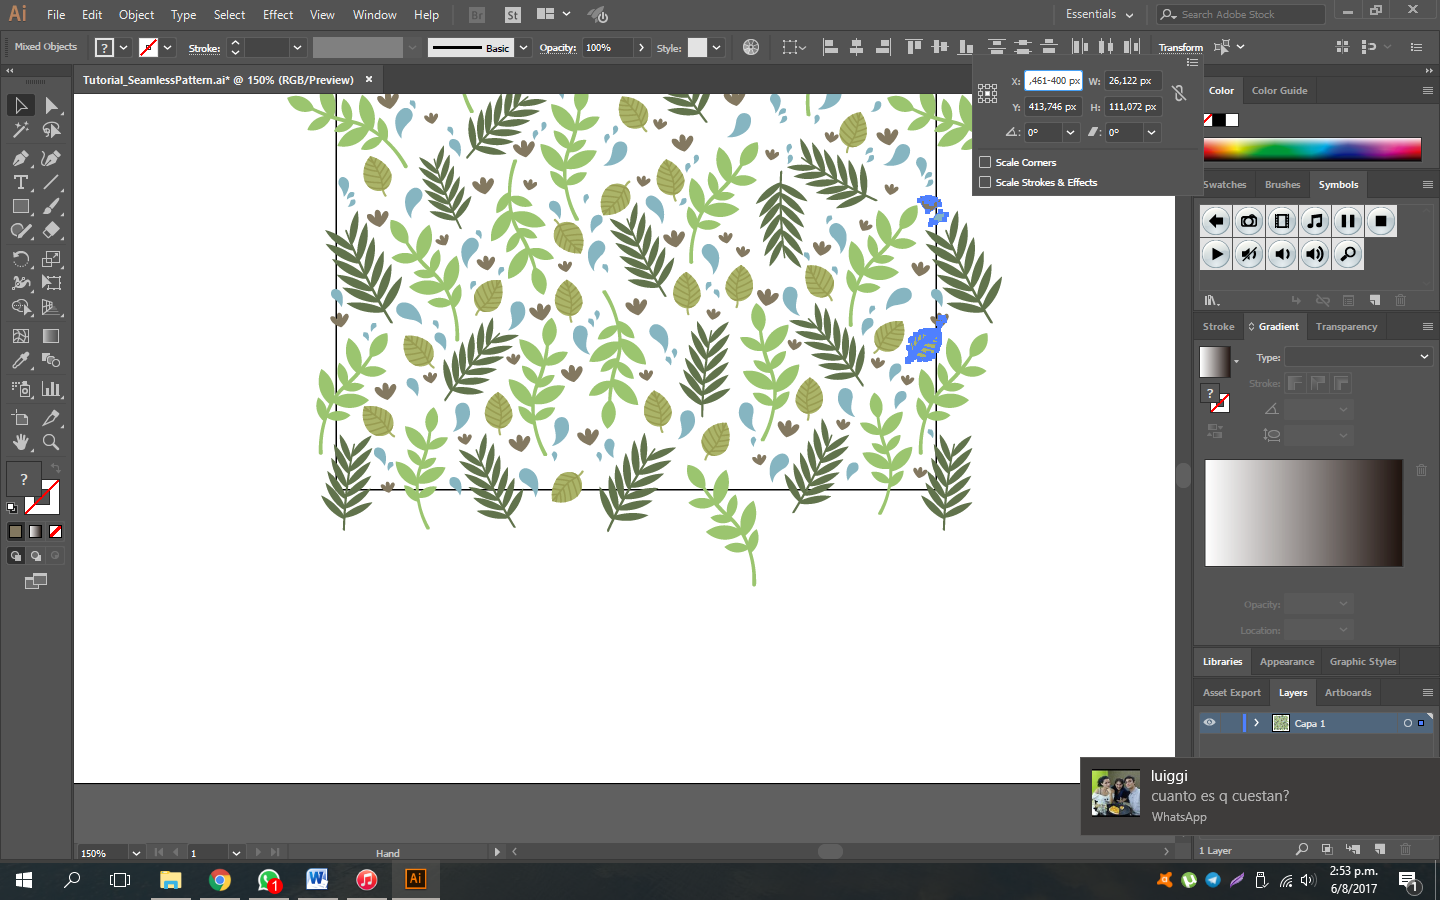
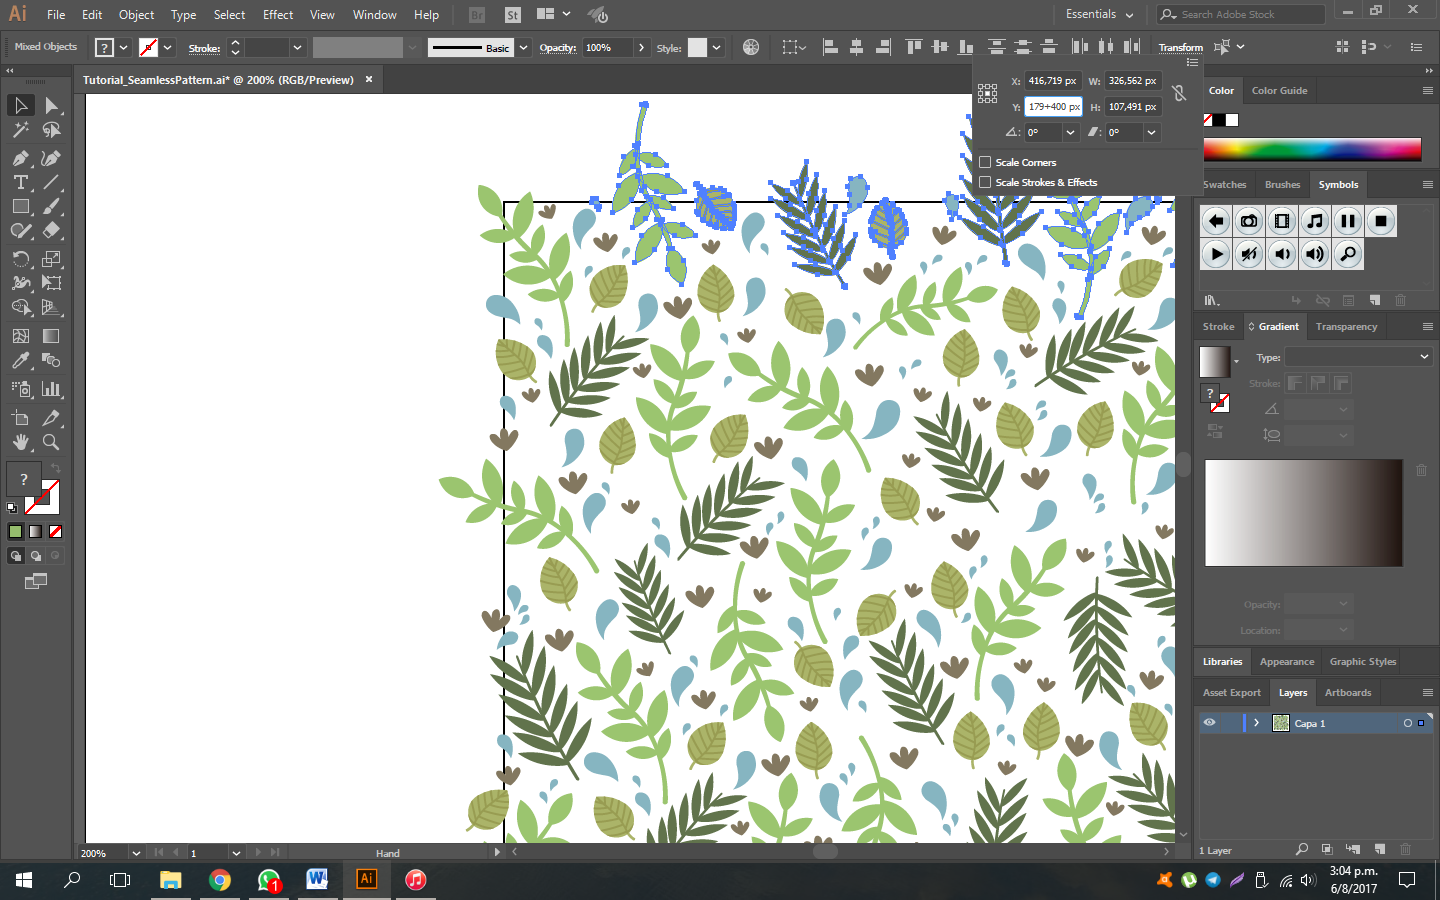
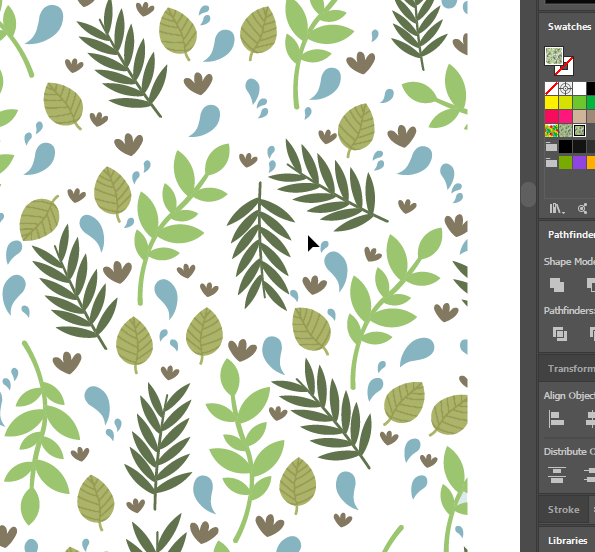
Ready! Should be something like this, make sure you fill all the possible spaces of the square as well as it’s edges and corners.
Step 5
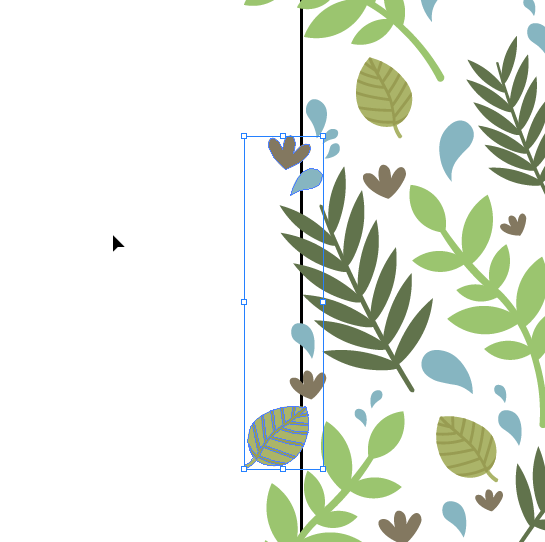
Now let’s equalize the sides of the pattern. Select all those figures that were left out of the square in this way.
Step 6
Once selected, press Ctrl + C to copy and Ctrl + F to paste them in the same place.
Step 7
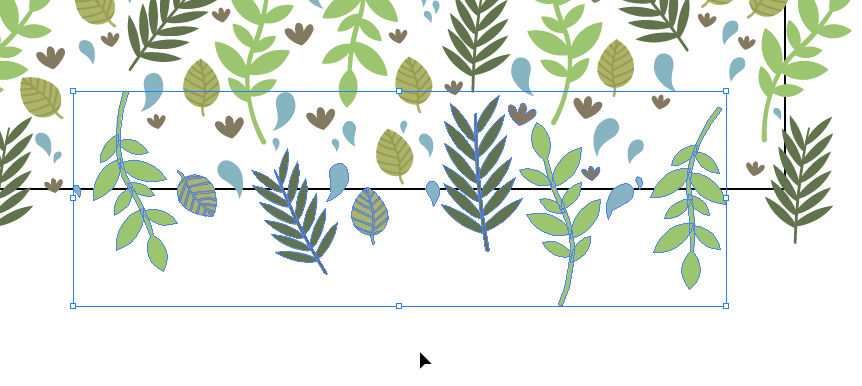
Now let’s pass this copy to the other side of the square (For the X axis), for this (and with the figures that you just copied selected), with the Selection tool (V) go to the option of “Transform” and in the X axis add to the number “+400”, this way you’ll move the selection 400 px to the right, exactly the measurement of our square.
Step 8
The selection clashes with other elements that were in the pattern, don’t worry. You must modify them so the selection fits without problems in the pattern. To make it easier group the selection (Ctrl + G) and you will know that you must not modify this one.
Step 9
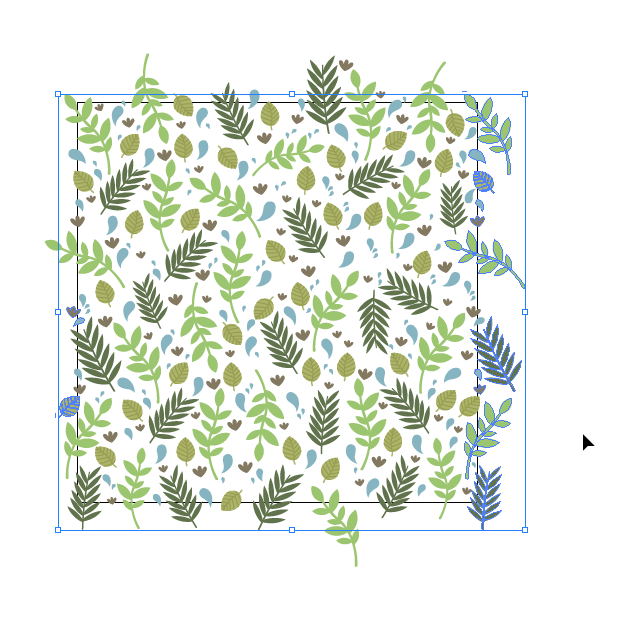
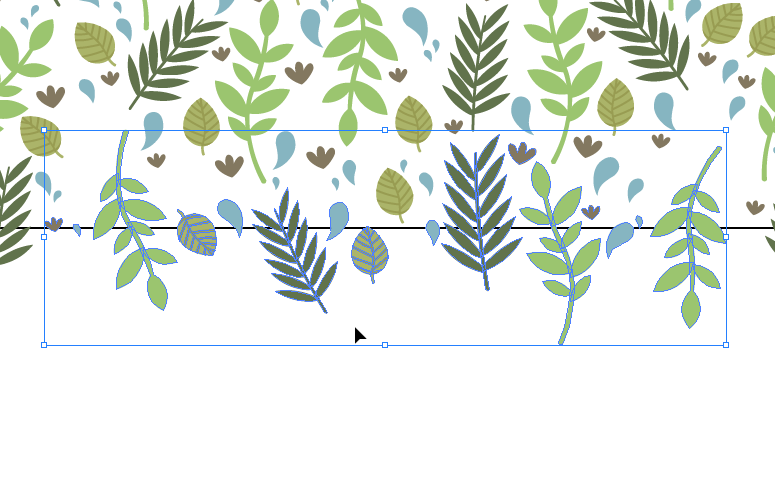
You must have something like this, the selection fits in completely.
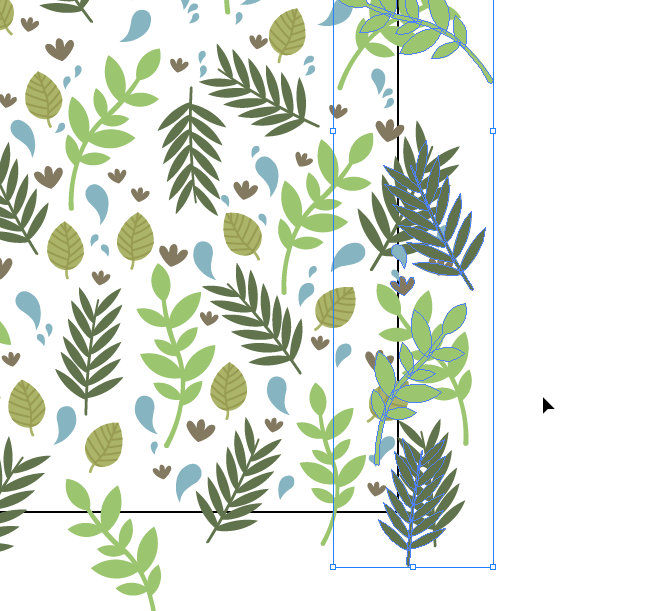
Step 10
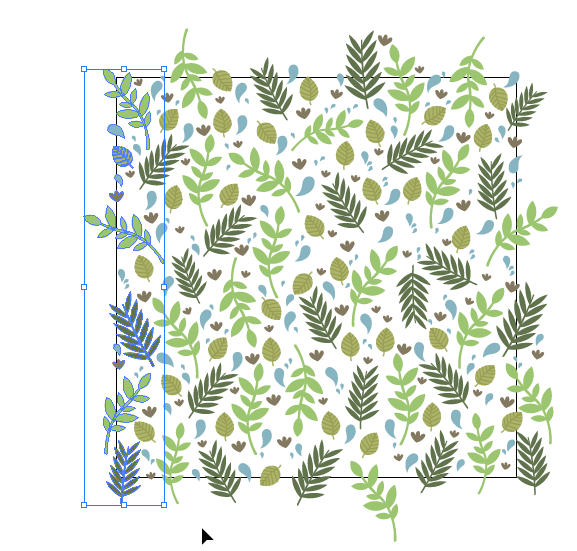
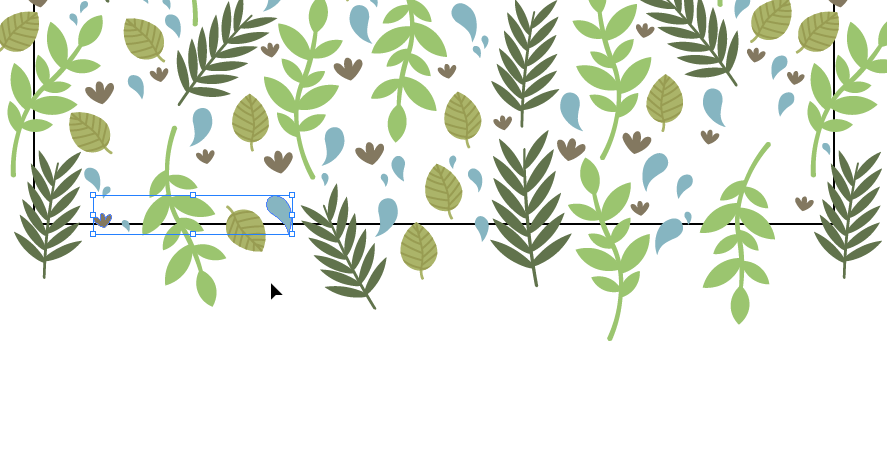
Now do the same with the elements that protrude from this side of the pattern. Select them all those that are out of the square.
Step 11
You see that you have selected elements that don’t serve us, because they are already copied from the other side, like the selection that you have just adjusted, so deselect it with the Selection tool (V), holding down Shift and clicking. All elements must be deselected because they’re grouped together.
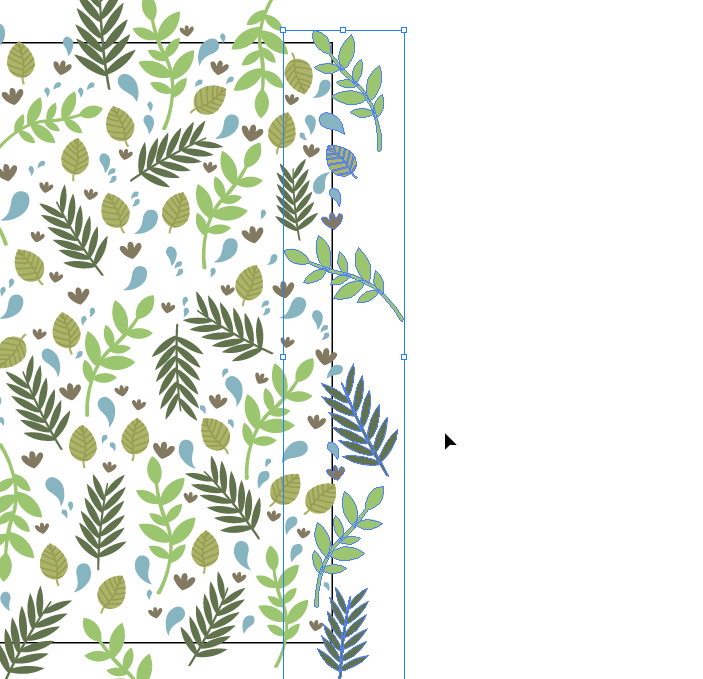
Step 12
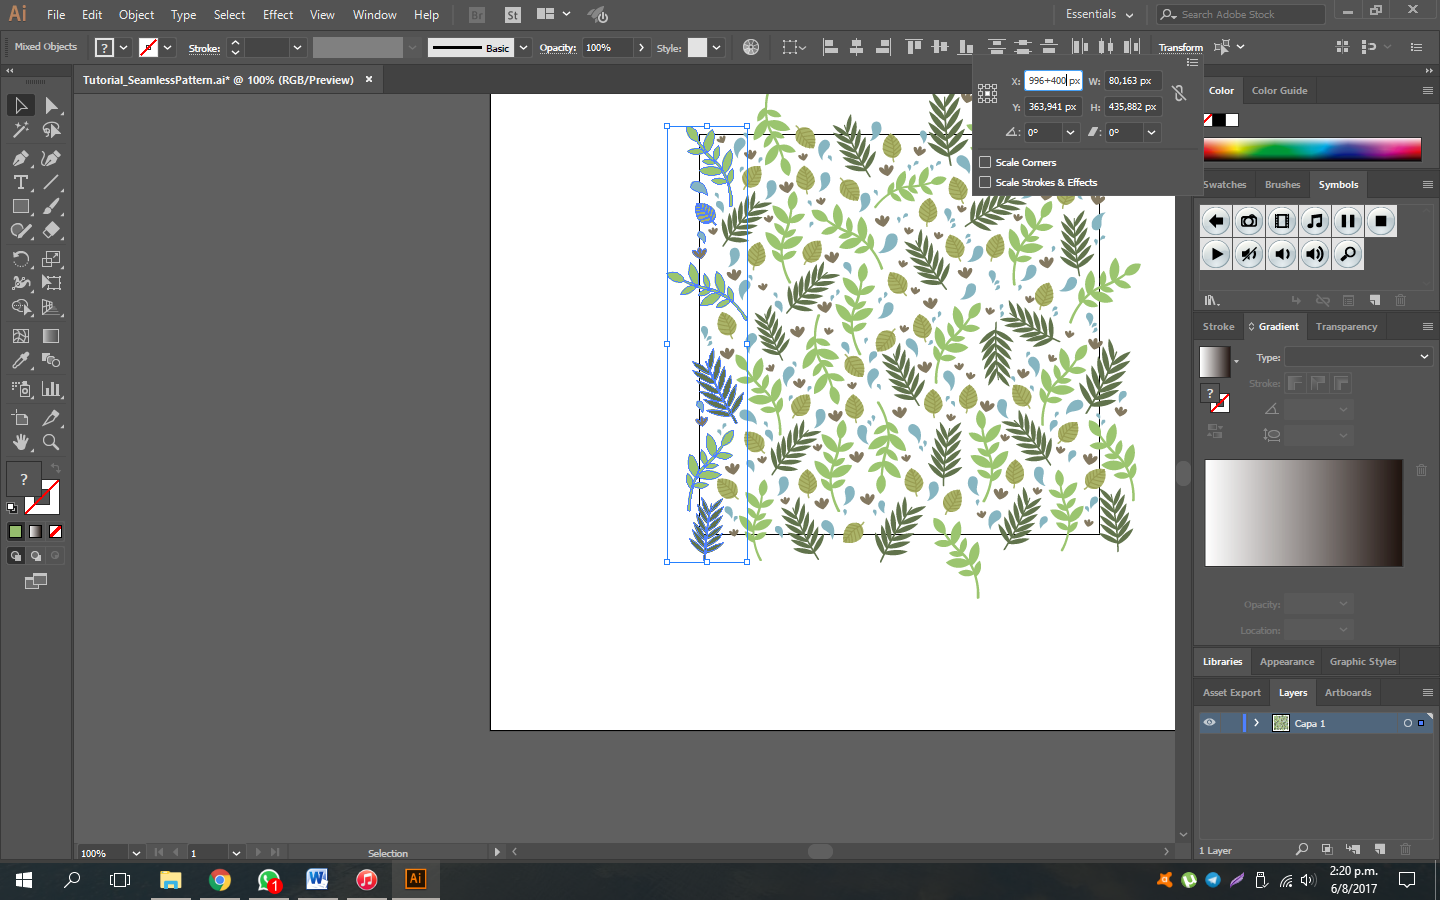
Do the same thing as before, copy and paste in the same place with Ctrl + C and Ctrl + F, go to the “Transform” option and instead of adding 400 we will subtract 400 to move these elements to the other side, write in X “-400” and press Enter.
Step 13
Do the same of before and accommodate our elements to fit perfectly, but without modifying those that protrude that are copied from the other side. To make it easier we group our selection (Ctrl + G) and modify it. Remember, don’t modify the figures that protrude from the square.
Step 14
Ready! You have the sides ready. You see that both sides are equal to each other.
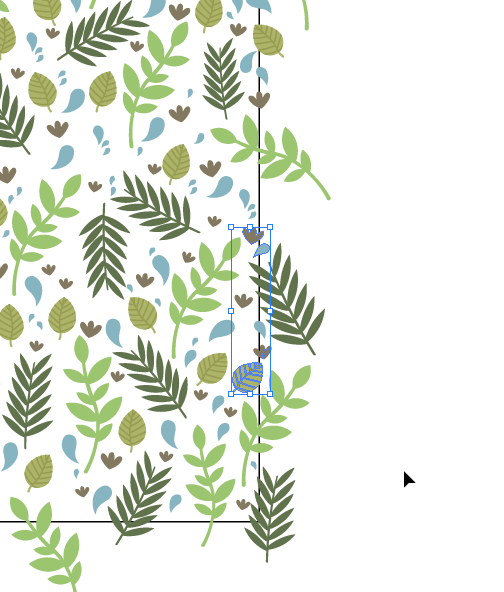
Step 15
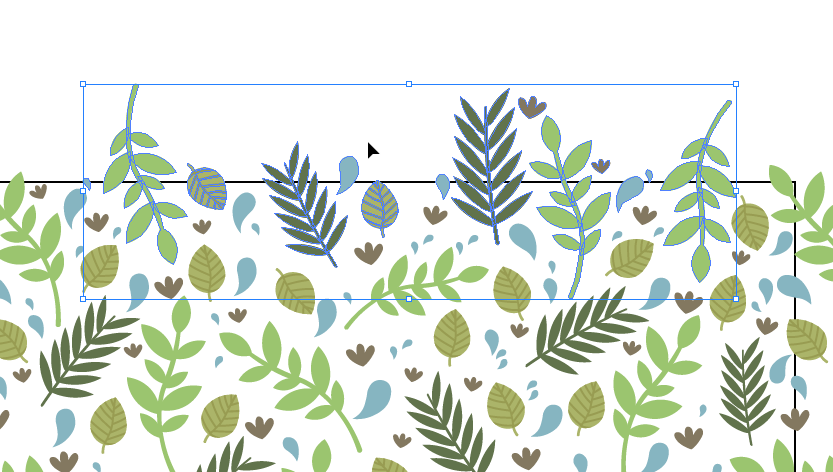
Now go with the top and the bottom, it’s the same procedure. Select in the upper part those elements that excel, copy and paste with Ctrl + C and Ctrl + F. Select only the elements that you haven’t copied and pasted before.
Step 16
You need to move them 400 px down, just as before, go to the “Transform” option and on the Y axis we put “+400” and press Enter.
Step 17
We group our selection with Ctrl + G and modify it to fit perfectly.
Step 18
Now select all elements from the bottom.
Step 19
Deselect the ones you just copied with the Selection tool (V) and hold down the Shift key. Then copy and paste the rest of elements (Ctrl + C and Ctrl + F).
Step 20
Go to “Transform” and this time subtract 400 on the Y axis, place “-400” and press Enter.
Step 21

Adjust them, just like before, group with Ctrl + G to make it easier. Remember NOT to modify the figures that protrude from the top.
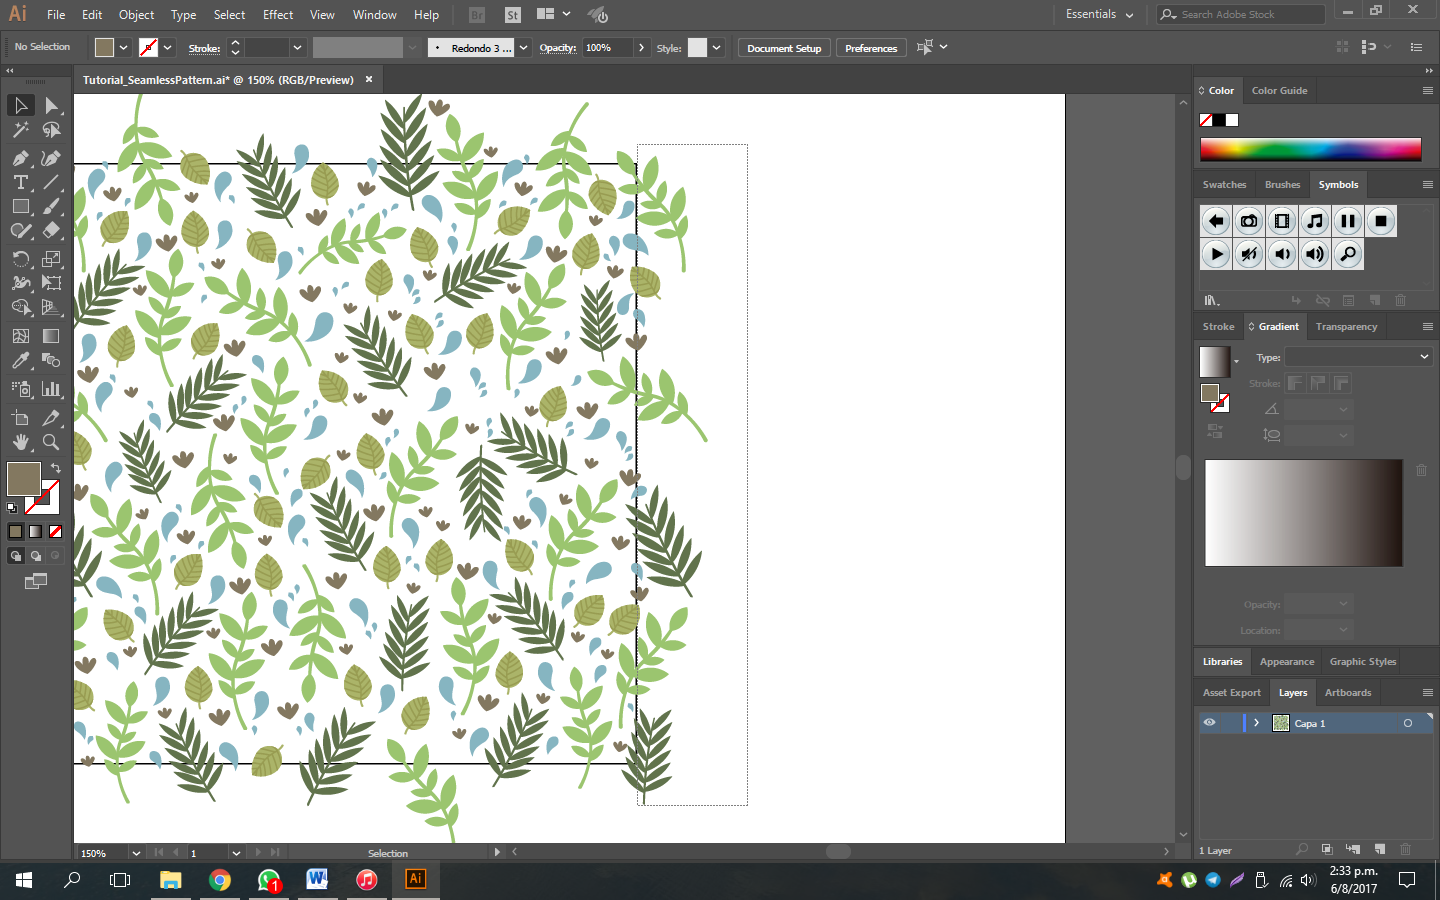
Step 22
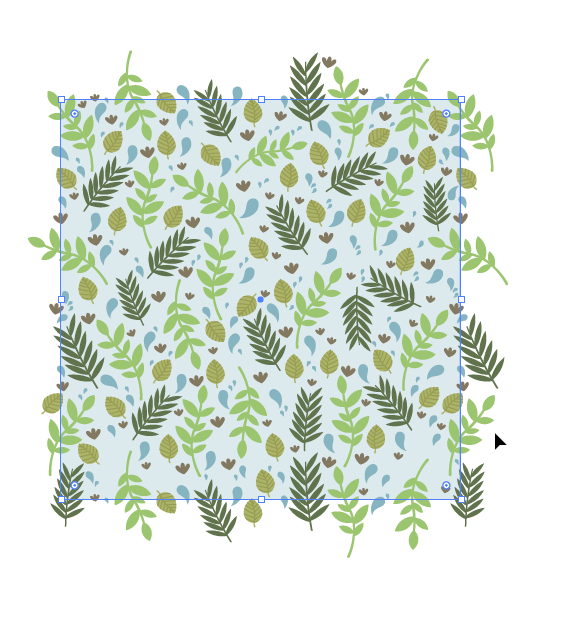
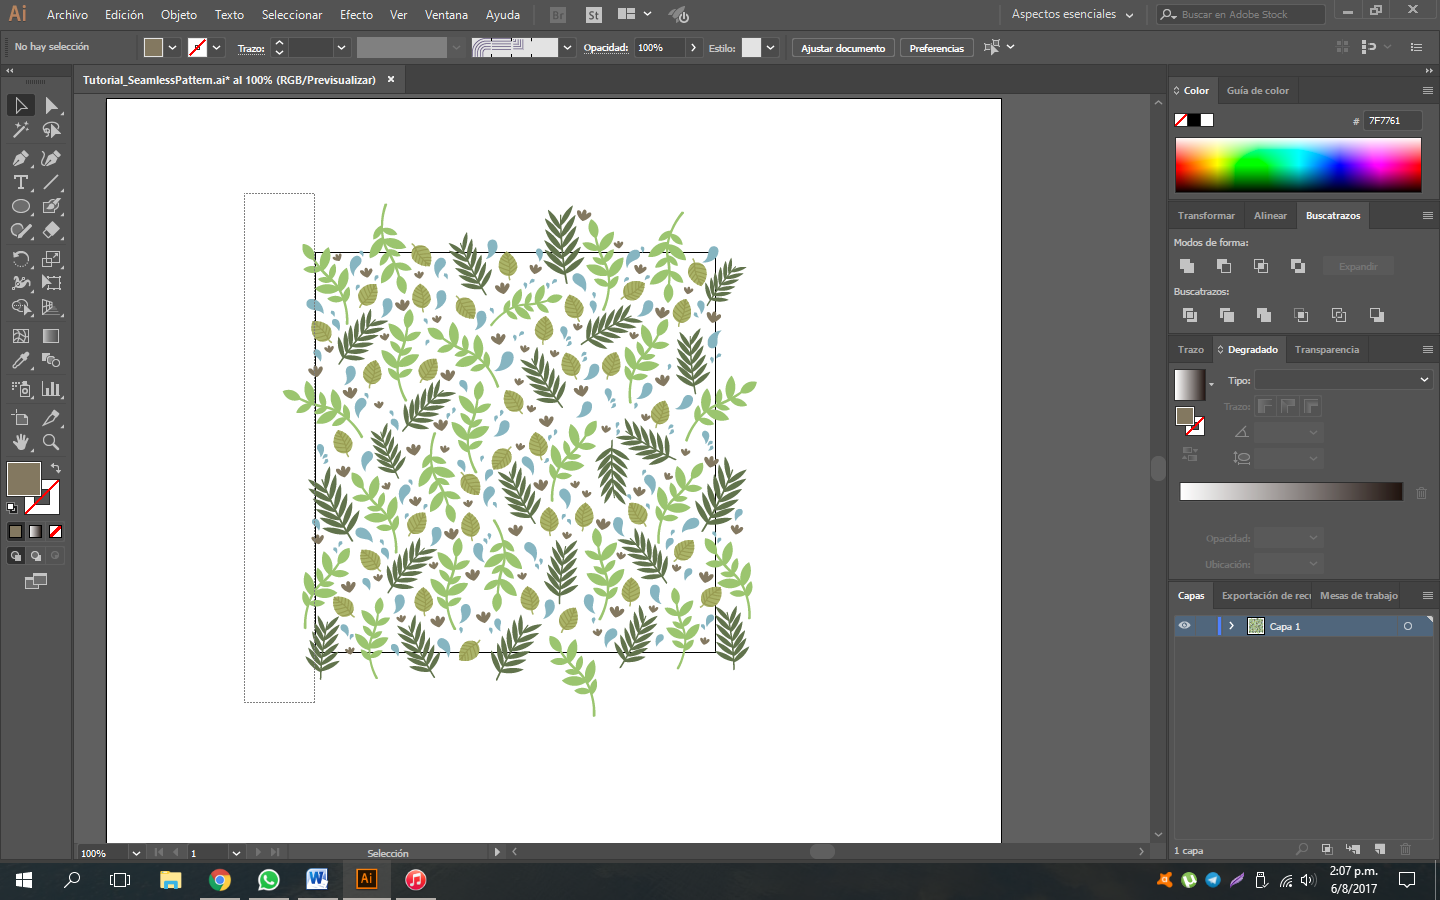
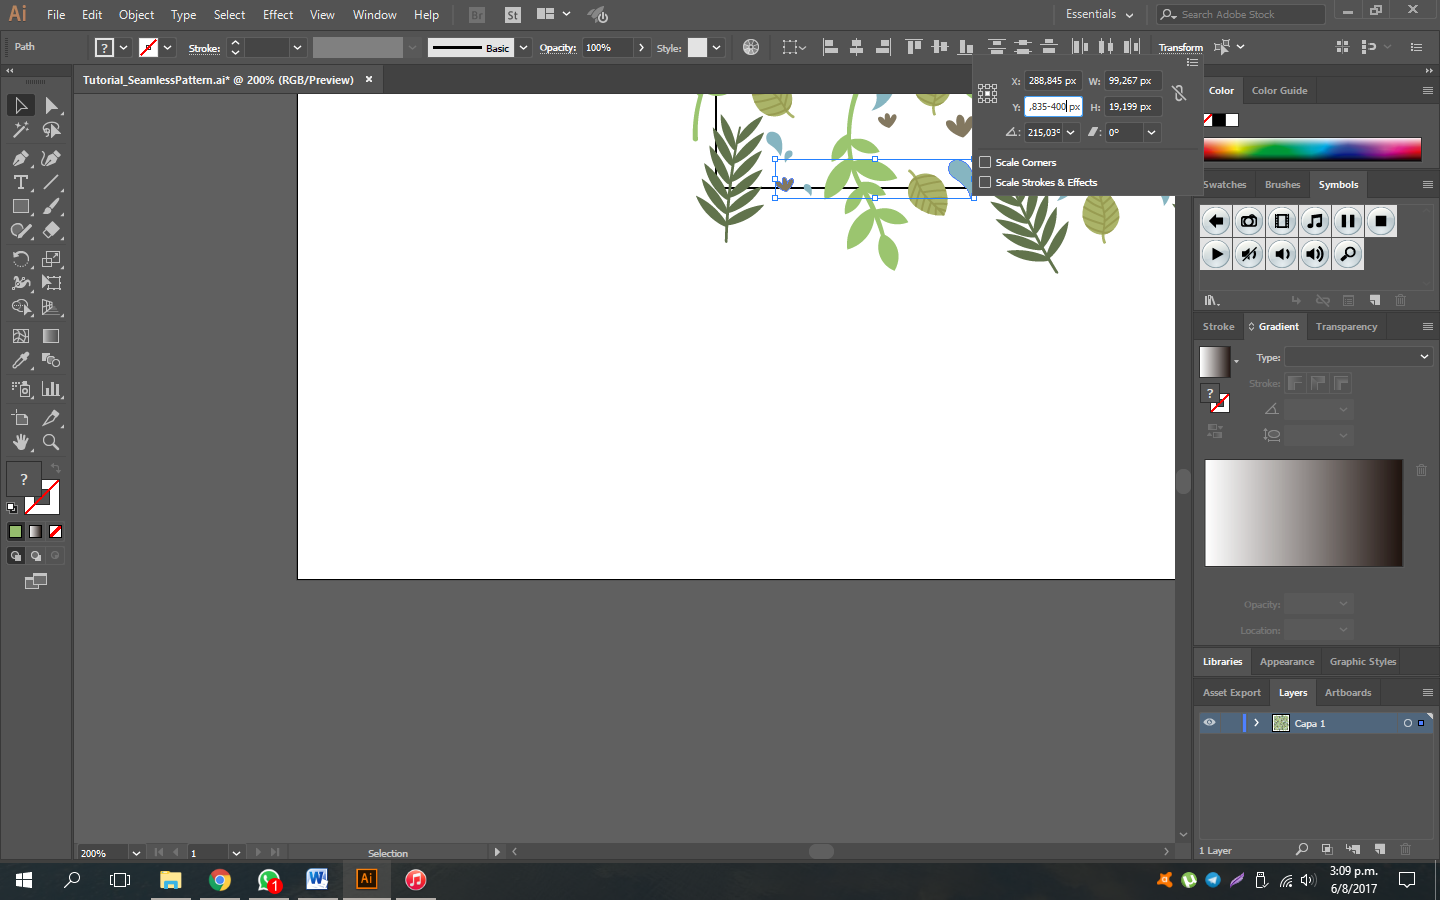
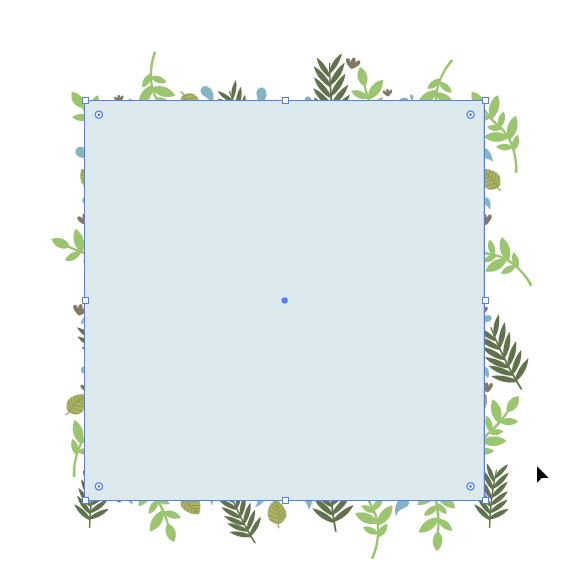
Once you’re satisfied with the pattern, change the color of the background square.
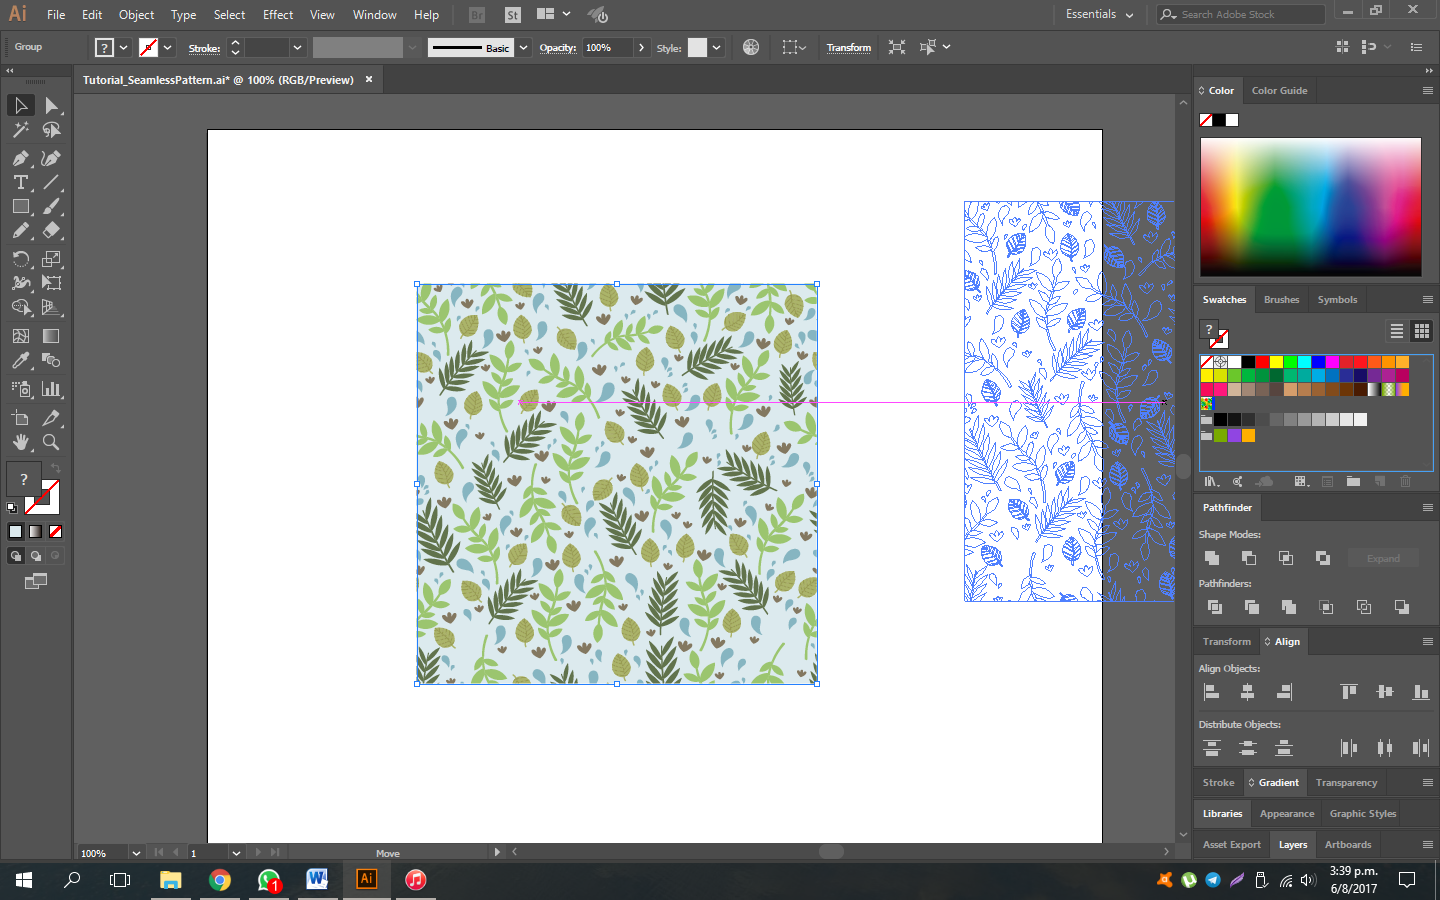
Step 23
Now create a Clipping Mask to remove the leftovers from the square. For this copy the background square with Ctrl + C, group our figure with our design with Ctrl + G and paste the square with Ctrl + V, and adjust it until it’s exactly above the first square.
Step 24
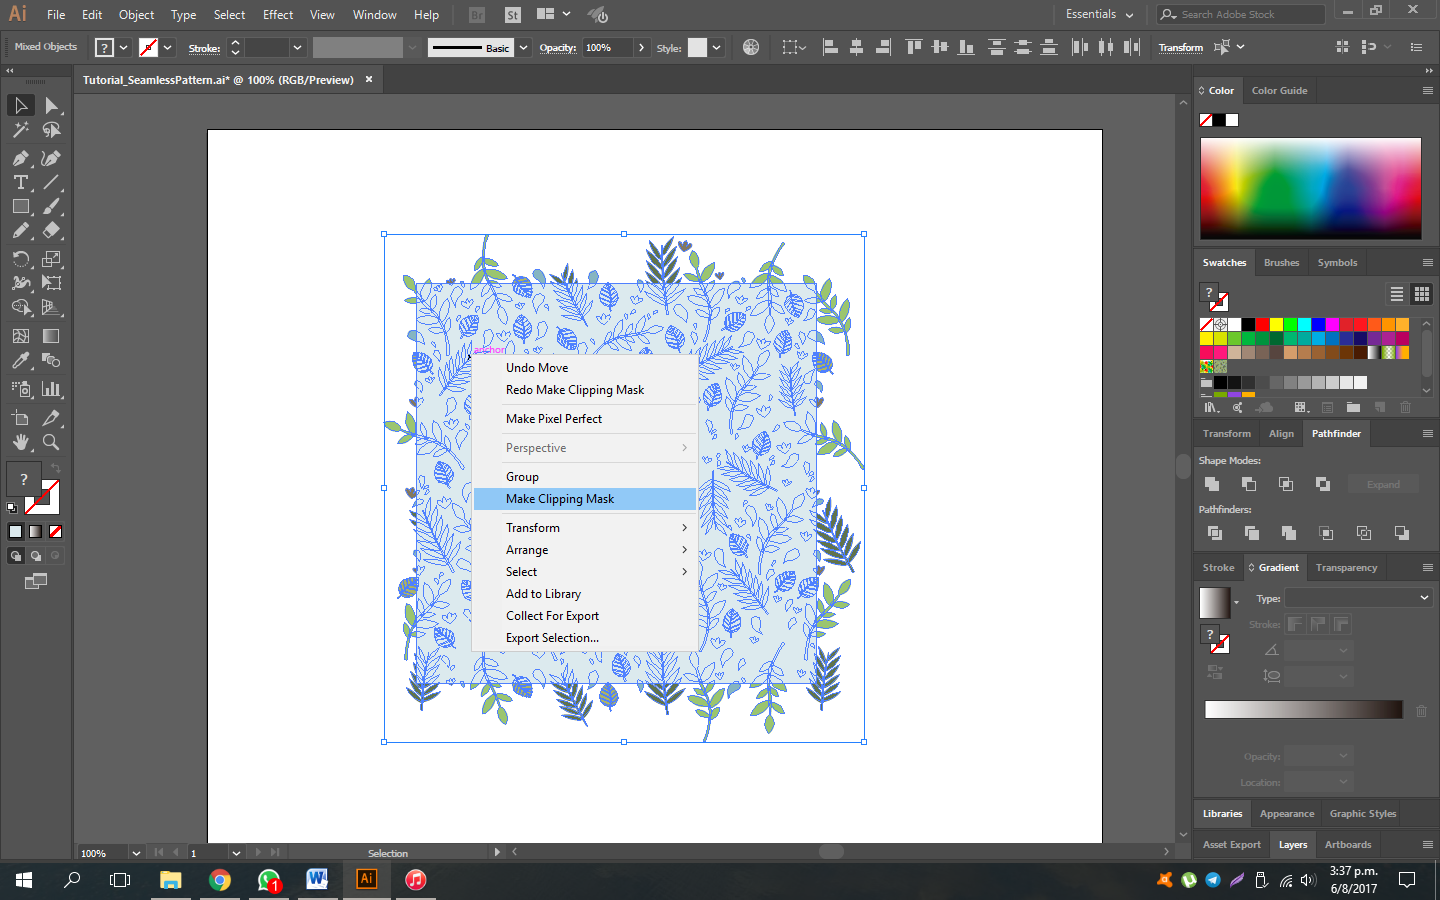
Select everything (pattern and square) and press Ctrl + 7 to create our Clipping Mask, or right click > “Make Clipping Mask”.
Step 25
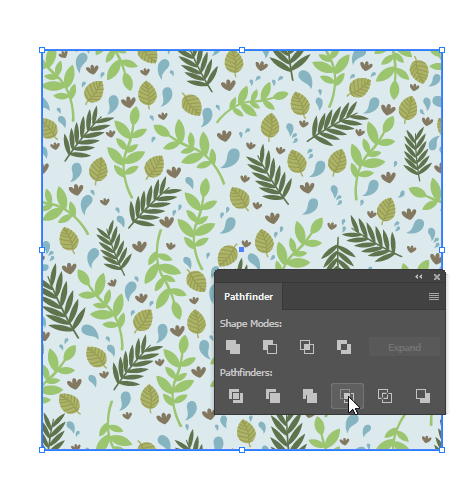
Almost ready! Now select everything again and go to the “Pathfinder” panel and select “Crop” to remove all invisible leftovers.
Step 26
Drag the finished figure to the “Swatches” panel, and that’s it!
Step 27
Let’s try the pattern. Create a large rectangle of any color.
Step 28
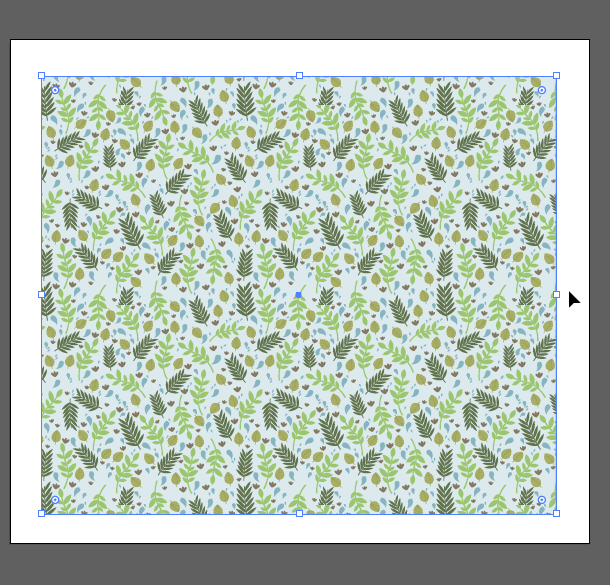
Let’s go to the “Swatches” panel and with the rectangle selected select the pattern that you just drag, and that’s it!
Step 29
If you want to have a transparent background, simply take the source pattern and ungroup it with Ctrl + G, select the background and delete it, re-group and drag in the “Swatches” panel.
Step 30

Ready! Easy and fast with Illustrator CC.

You may also like...


![]() © 2024
© 2024
1 Comment